Primary author: Deb Lebow Aal
Jump to Main Topics on this Page:
- Collecting Native Plant Seed
- Native Seed Germination
- Soil Mix for the Best Germination
- Common Questions and Answers
Also, check out the PDF of our Germination Guide for Native Seeds compiled by WOFR member Jan Midgley, which is packed with info.
COLLECTING NATIVE PLANT SEED
Planting native plants from seed is the cheapest and simplest way to get a good variety of native plants in your landscape. Some say that the plants you grow from seed are healthier than plants you buy from a nursery. And, there’s that added bonus of watching a seed sprout – we feel that not much compares in satisfaction! Collecting seed is simple, but varies from plant to plant. For a quick tutorial on collecting, watch Wild Ones Front Range (WOFR) member Lisa Olsen’s video as she shares tips on collecting and cleaning native seeds below:
You will need paper bags (a separate one for each species collected), permanent markers, small clippers, and a keen eye. Paper bags are preferable to plastic as we need the seeds to breathe and stay as dry as possible. Plastic bags can hold moisture and your seeds can mold. You will need to label the bag with the botanic name of the plant, the common name, when and where collected, and the elevation, if known. If the seeds will be shared or taken to an exchange, you will also need the date, name of collector, and a disclaimer about germination.* You will want to take the seeds from a plant after it has finished flowering and the fruits are ripe/mature.
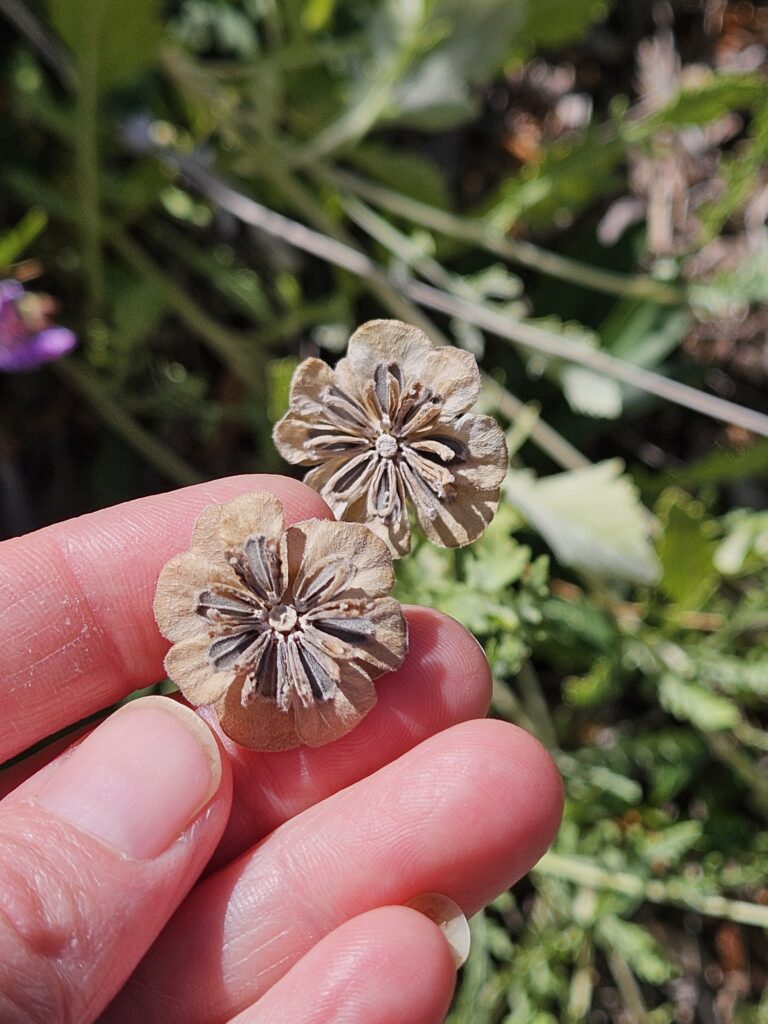
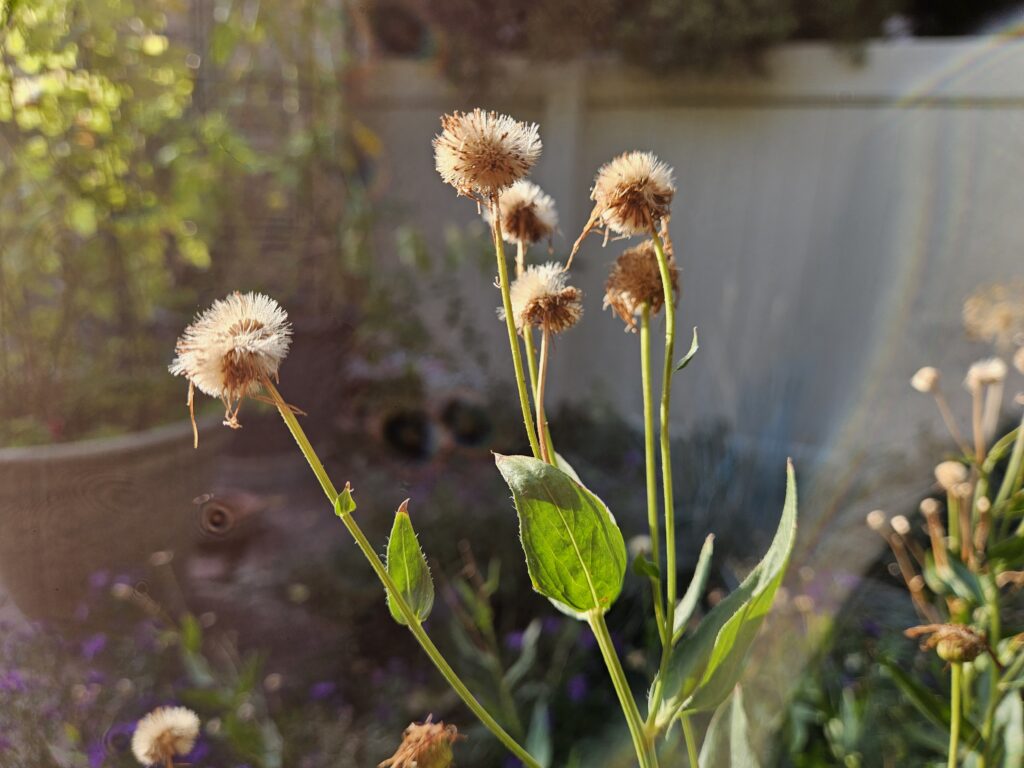
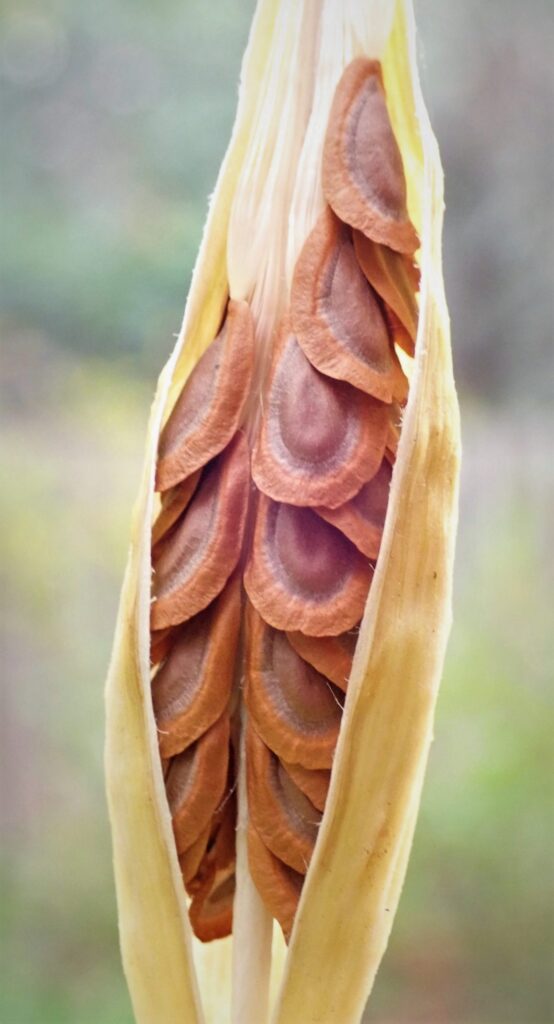
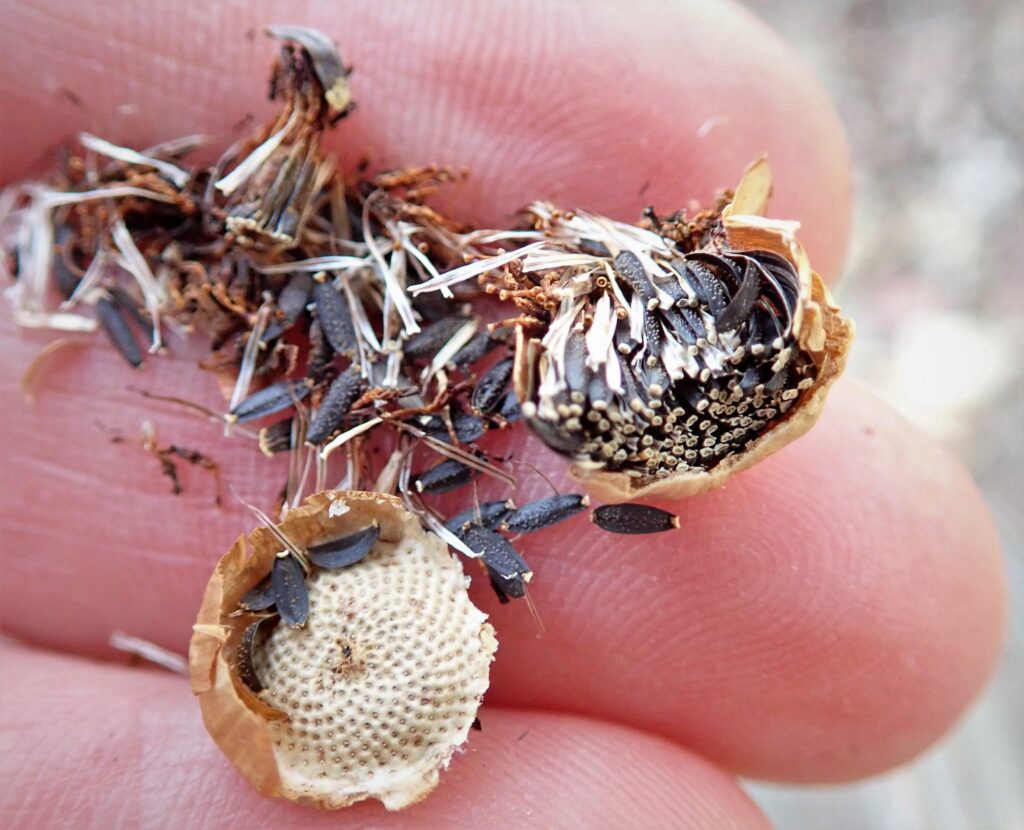
Stems that are nice and crispy and flower heads that are completely dry are what you’re looking for. Generally, you’ll clip a stem from the plant, turn the stem upside down inside the paper bag, and let the seeds fall into the bag. Sometimes you’ll have to coax the seed out of its covering. You’ll get a lot of non-seed plant material in the bag with the seed, and some folks like to separate the seed from the detritus, but it’s not necessary, and can be done later. Do check for seed predators–”true bugs” are common predators of seeds, even while on the plant. Don’t bring home a pest!
Most plant seeds are obvious. If not obvious, you may have to consult the internet for a picture of the plant’s particular seed. For times of year to collect seed from a specific plant, consult the Germination Guide, referenced below.
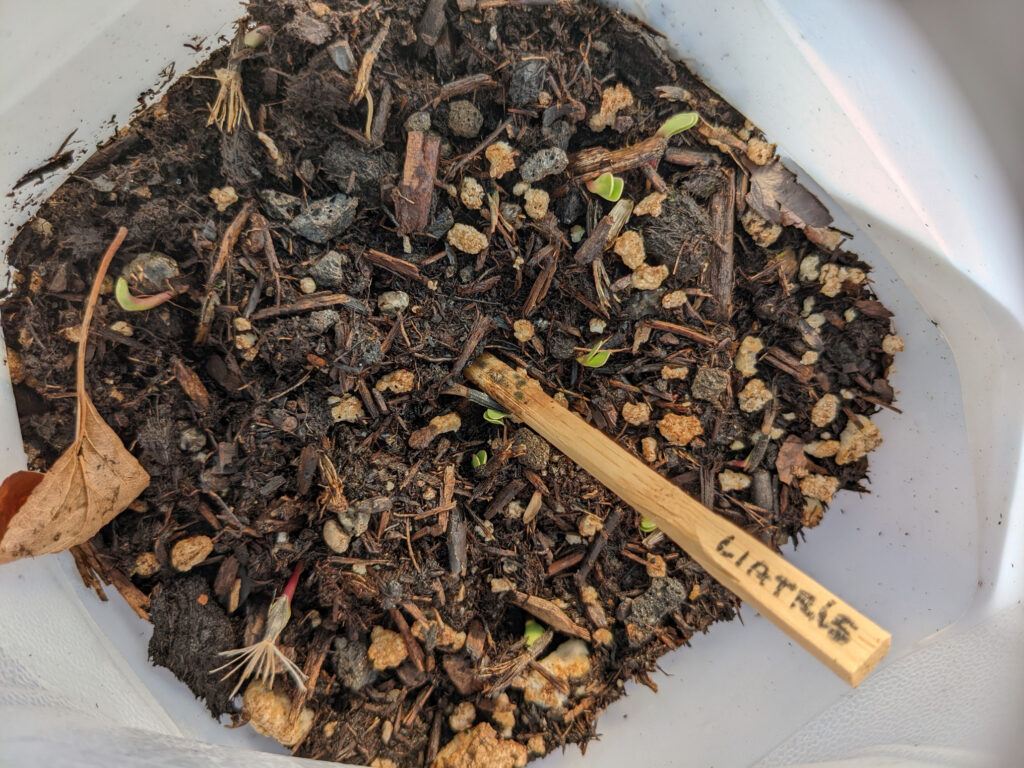
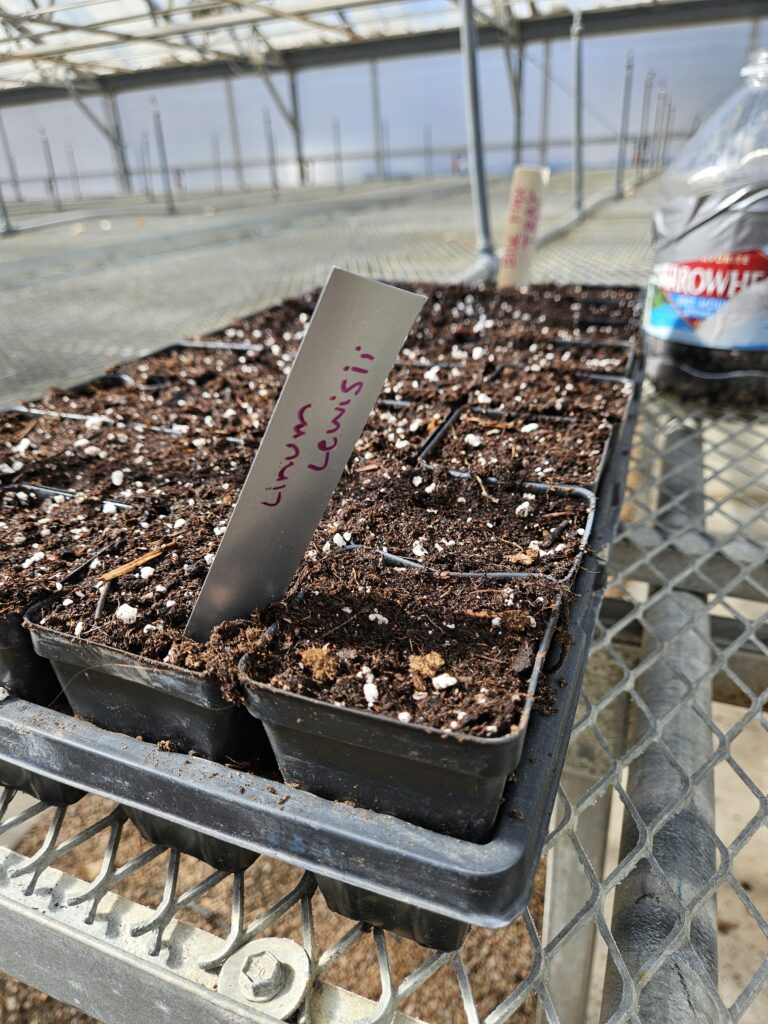
NATIVE SEED GERMINATION
There are many ways you can germinate native seeds, each with benefits and drawbacks.
The simplest method is to scatter seeds in your landscape at the beginning of an early winter snowstorm. The snow will blanket the seeds, gently pressing them into the soil and providing initial moisture. It mimics the process seeds go through in nature. Make sure you’ve scattered the seeds where you want them to sprout! With this method, some seeds may be eaten by wildlife and it can be difficult to ensure the seeds have adequate moisture throughout the winter and spring. However, even if you get just a few seedlings, what an easy way to get them!
Another approach is to winter sow native seeds in milk jugs, sealable plastic bags, or other similar containers. These containers will serve as mini-greenhouses once you seal them while allowing moisture to enter and giving the seeds adequate drainage. As a result, they retain moisture better, which increases germination particularly as temperatures warm in the spring. However, there is work required to set these up and monitor them. Check out this video by WOFR member Jenifer Frazer and her friend to demonstrate this germination method, and her handout on this method.
Finally, you can sow the seeds in cells and place them outdoors. This approach allows for easy transplanting and/or bumping up of seedlings since they germinate in cells. The open cells do dry out faster than the container method, above, so more frequent monitoring and watering will be required. Here is a step-by-step guide to help you sow native seeds in this way.
For much more information, please refer to the Germination Guide for Native Seeds compiled by WOFR member Jan Midgley. Jan will be updating this guide as her research progresses. And, Rob Greer, another Wild Ones member has put together a simple guide to sowing native plant seeds outside.
And, if you are very new to growing native plants from seed, we have compiled a list of Easy to Grow Colorado Native Plants that are suitable for novice growers. These seeds meet the following criteria: they need little to no pretreatment; germinate readily; are easy to grow in all kinds of soil; and are easy to collect.
Just remember that not all seeds germinate. The success rate varies by plant, but it is normal to get a less than 50% germination rate. Seed-grown plants can perform better than plants purchased from a nursery because they are typically grown in conditions closer to their final site and are often planted smaller than nursery plants. This “pre-adaptation” and quick establishment in the permanent location can give plants a real leg up over their counterparts matured in “cushier” conditions.
SOIL MIX FOR THE BEST GERMINATION
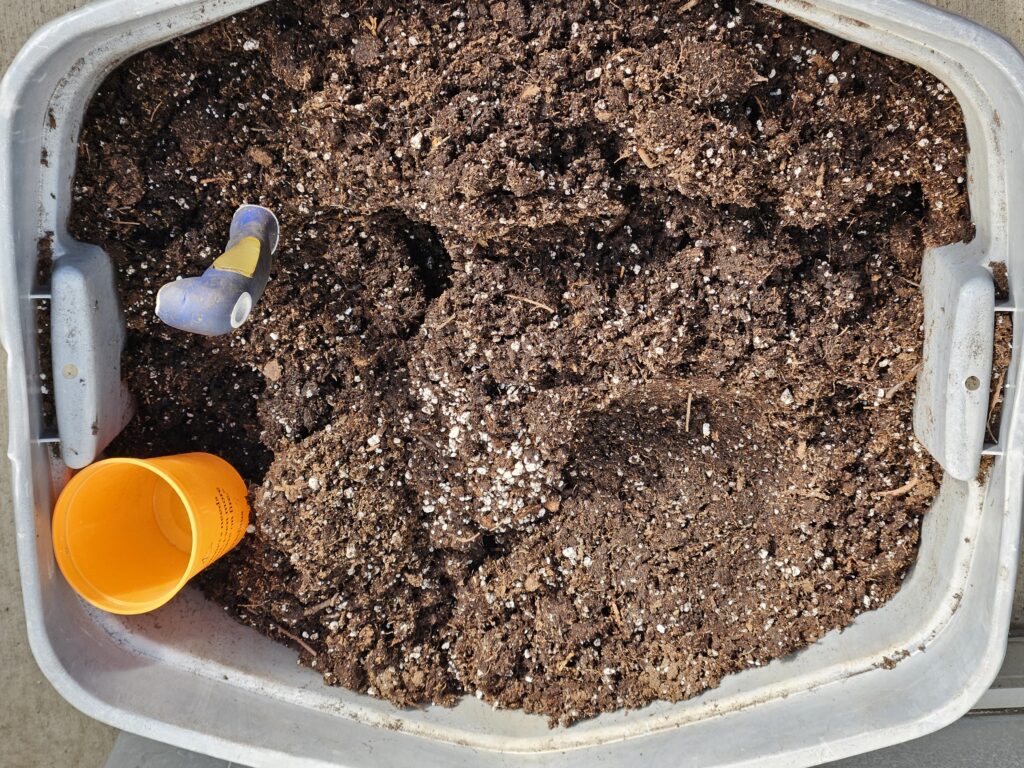
Many people have had success germinating native seeds in potting soil. Remember that with commercial potting mixes, you get what you pay for (at best), and caveat emptor. One of our WOFR members, Brian Rasmussen, decided to test sowing the same seed species in two different soil mixes and compared the results. For three species, Brian sowed the left half of the flat in Black Gold Seedling Mix and the right half of the flat in his homemade native soil mix. The pictures below demonstrate that the native soil mix was the clear winner!
Brian’s native soil, at his home in Boulder County is decomposed granite from a forest slope, and he is at 8200 feet in elevation. The native soil he uses has a very high mineral content – lots of rock and gravel. He amends this decomposed granite with approximately 5-10% compost. Then, the soil is screened with a ¼” screen to remove the larger mineral/rock and larger compost pieces. Then, he mixes 1 part Perlite to 3 parts soil.
After adding seeds, Brian puts a sprinkle of native soil mix as a top dressing. The top dressing is the native ¼” screened soil mix after sifting out the finer particles with a metal kitchen strainer/screen. The result is a native “squeegee” like material, similar to coarse sand.
It’s important to note that the seeds Brian is germinating are native to the soil he is using. And he germinates outside in natural winter conditions at 8,200 feet in elevation. Watch Brian’s complete process here or below – he begins about halfway through the meeting at time 42:55 after Jan Midgley’s propagation presentation (also packed with great info) from our January 2023 Propagation Committee meeting:
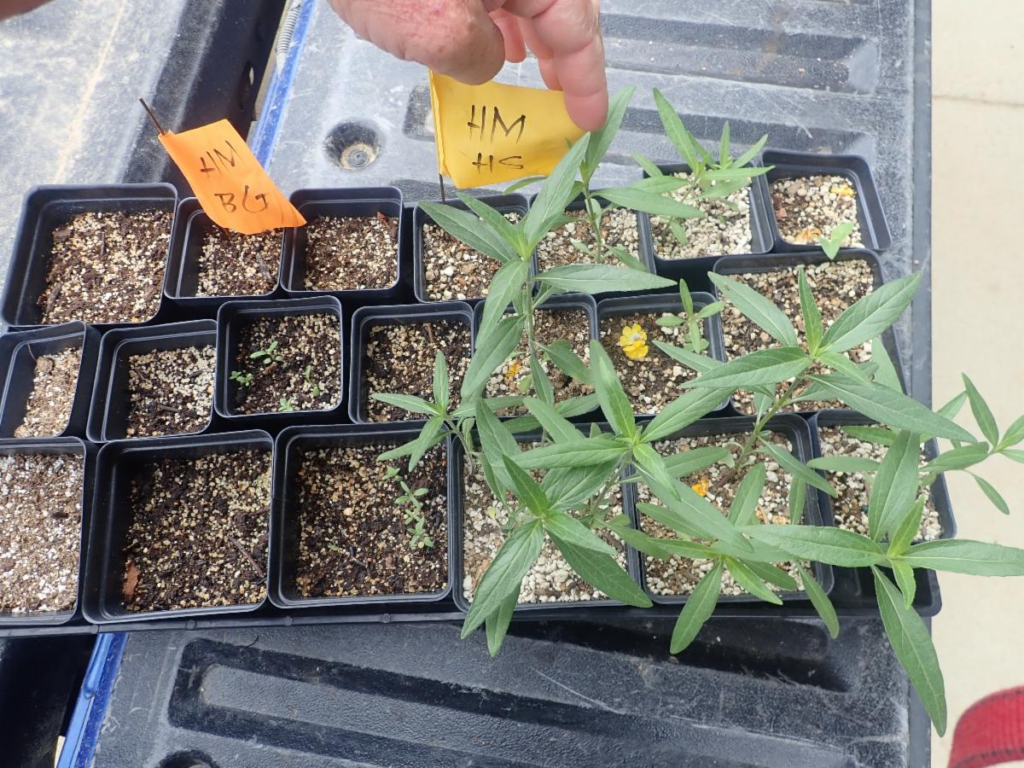
Brian’s mix on the right, potting soil on the left, for Heliomeris multiflora.
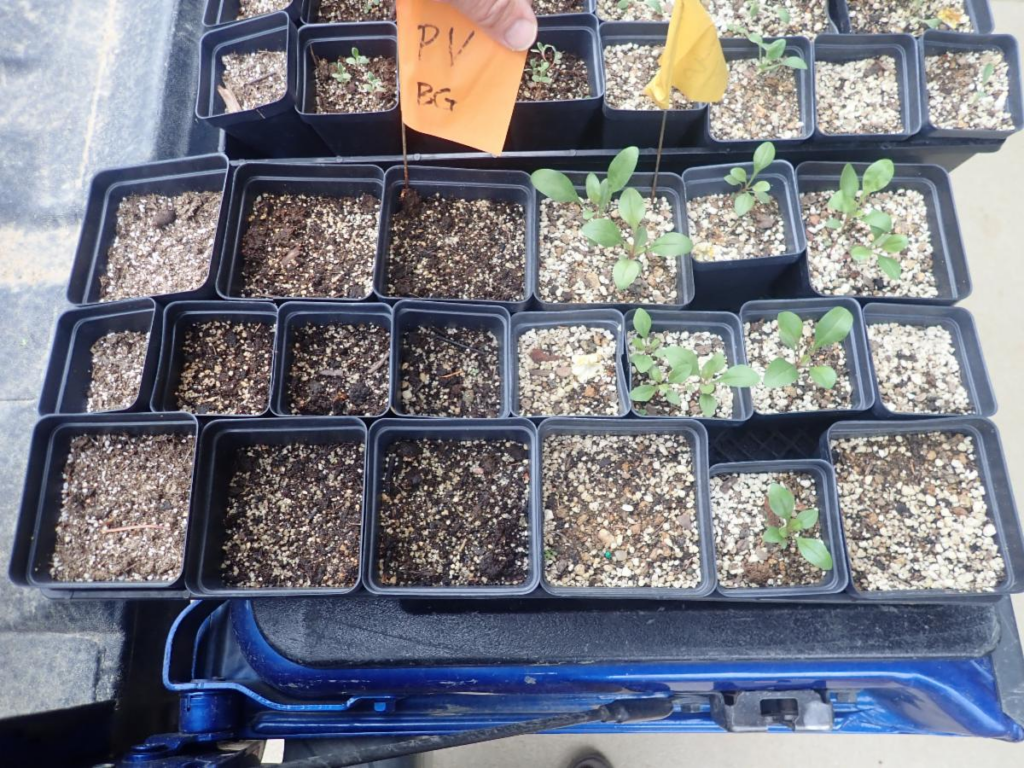
Brian’s mix on the right, potting soil on the left, for Penstemon virens
COMMON QUESTIONS AND ANSWERS
These questions and answers come from WOFR’s Propagation Committee**:
Question # 1: When literature recommends 30 days-, 45 days-, 60 days-, or 90 days- cold stratification, is that number a floor or a ceiling? ie. if for simplicity, a grower started everything at a longer-than-recommended period, will that ruin the seeds requiring less?
Answer: The number of days of stratification is a floor. Most things can tolerate a longer period of time if they are in a container. In the refrigerator, the radicle(s) might emerge and then you have to get them into soil. I think grasses are an exception. You can lose a lot of the seeds to rot (or birds, if sown in situ) if you sow them before March.
Question # 2: I’m curious about the size of the seed containers. Jan was using quite small cells in her demonstration. Is there a propagation reason (as opposed to, say, a budget or storage reason) not to simply start everything in larger containers (maybe deep pots)? Seems like starting in larger containers would avoid the need for pricking out and moving the seedlings.
Answer: The biggest risk of large pots is overwatering and rotting your seeds or seedlings. Cells are handy for folks sowing a lot of different species or working in greenhouses. If you do sow in pots, narrower and deeper is better for 2-3 seeds. Well draining soil is important too. A number of us are thinking that a portion of native soil (for mycorrhizae?) is also helpful.
Question # 3: For record-keeping, is ‘date of germination’ the date the very first seed germinates? Regardless whether that first seed is an outlier and the majority germinate together at a later date?
Answer: Technically, germination is when the radicle emerges. Usually people say a plant germinates when they can see cotyledon leaves. Either way it is a range and with some species the emergence can happen from a few days to 2 years. That complicates record keeping. As a general observation, I would say the seeds of species that germinate easily at 70˚ with no special treatment will germinate within a few days.
Question # 4: Are cold frames of any benefit when propagating natives?
Answer: I tried a cold frame my first year and did not find it helpful. Many native plant seeds need to be exposed to the cold of CO. Temperature fluctuations are helpful and that varies by species. Cold frames can be helpful in keeping trays of seeds and seedlings from drying out as quickly and to protect them from vermin if outdoors.
Question # 5: Are the native plants sold in May commercially (i.e., by DBG, HPEC, etc.) all available that early solely because those organizations use greenhouses and a homeowner simply can’t expect plants to be ready that early in the absence of a greenhouse?
Answer: At Chatfield we started most of the plants that were sold at the Grown at the Gardens booth in Nov. if they needed cold stratification, and others needing no treatment were sown by January. So yes, plants ready for sale in May are started in greenhouses. They might be started the year before, put in larger containers and overwintered outside in a hoop house or under frost blanket. Commercial plants, though, need to look good in a pot for most people to want to purchase them. Plants that you grow at home can be planted at a smaller size than those that would be offered for sale, often with the bonus of quicker establishment in the landscape. Just make sure they’re hardened first! Many home growers of natives plant hardened seedlings in early spring to take advantage of moisture and cooler growing temperatures.
- If taking seed to a seed exchange, this information is from a CSU Extension paper on seed collection: In Colorado, seed exchanges are not required to register with the State Department of Agriculture. However, all seed that is distributed for planting purposes, including seed distributed by seed exchanges and libraries, must be labeled. Certain information is required on all seed labels depending on the use of the seed. There are three categories of seed labeling in Colorado: Agricultural and Turfgrass seed labeling; Tree seed labeling; and Vegetable and flower packet seed labeling for use by home gardeners. Seed most often exchanged by gardeners should be labeled as follows:
Seed label requirements for vegetable and flower seeds distributed to home gardeners;
● Name and address of seed exchange
● Kind and variety (cultivar/release name, species, and common name) i.e., Kind: Tomato; Variety: Brandywine
● Lot Number – a series of letters or numbers assigned by the seed saver or seed library for teaching purposes (it is recommended that seed should be able to be tracked to a specific collector or saver)
● Net weight – how much material is in the container/bag
● Packed for date – the date the seed was packaged. If the seed germinates below standard (normally less than 70%) then, and only then, would the following need to appear on the label:
○ Percent germination (germ) – how much of the seed will germinate readily
○ The words “Below Standard”
**Questions were answered by Jan Midgley, former WOFR Board member and Native plant expert, and John Murgel, CSU Extension Officer. If interested in joining WOFR’s Propagation committee, please contact [email protected].
