
By Kristine Johnson
Much as we experience the seasonal rhythms of weather during the calendar year, there are similar patterns in our propagation activity within Wild Ones Front Range. We track day length, temperature, precipitation and plant life-cycle timing. It can be helpful to explicitly name and describe the activities in our propagation season to prepare for them, maximize them and enjoy them!
Seed Collection
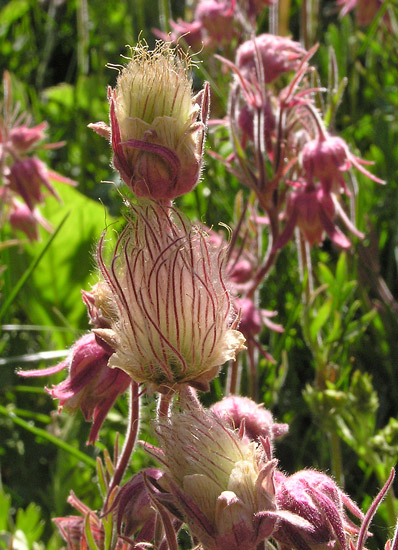
It all starts with seeds. When plants bloom impacts when they set seeds. Early blooming plants produce seeds sooner than later blooming ones. In her propagation guide, WOFR member Jan Midgley provides a rough calendar of when to think about seed collection on the Front Range. See final three pages of 2025 edition. Elevation, latitude and seasonal weather (precipitation and temperature) also impact when things are ready and ripe in your area. Follow ethical guidelines for collection, obtain permission and make sure the seed is ripe and handled/stored properly. See the second and third pages of Jan’s guide—linked above—for guidance, and also more in the tool kit. We also recommend that you join a WOFR seed collecting event to learn alongside others! We generally do a lot of seed collection in August, September and October. For early blooming species, you need to be on the lookout as early as May.
Most seeds are best stored before cleaning. Store in dry paper bags, away from light, in constant temperature, not too warm. Be aware of the needs of what you’re collecting, though. Some seeds need to remain moist and some benefit from a trip to the freezer to kill bugs, so plan ahead. Look up essential information in the germination guide (above), search the resources we’ve provided around propagation, or ask someone with experience with that species.
Seed Cleaning
Ripe seeds collected by volunteers are often messy. As Jan says in her guide, “The goal in cleaning seeds is to rid the seeds of spent petals, sepals, capsules, stems, leaves and critters.” A variety of tools—many found in your kitchen!—can aid this process. I’ve seen rolling pins, strainers of various sizes, cookie sheets, salad spinners, coins, hair dryers and mixing bowls at cleaning events. Generally, we seem to do a lot of our cleaning in October and November and even later.
Seed Storage
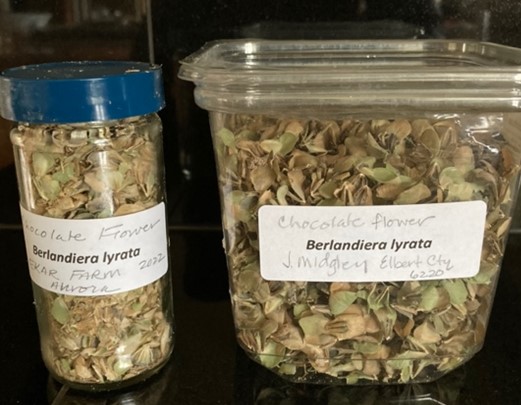
A seed is a tiny embryo of a plant in a package that is meant to withstand conditions not favorable for growth. Certain conditions help keep that embryo alive so it is still alive (viable) and can grow into a plant when conditions are right. However, not all seeds have the same storage needs or length of viability. Jan says, “Many seeds are viable for five years or more. Never give away all of your seeds of a species unless it is only viable for a year.” She also points out, “In arid climates, seeds can be stored at household temperatures. I prefer storing them in the refrigerator at around 40 degrees F.” In general, store your seeds at a consistent temperature in a dark location, be aware of their age, and use them promptly. We’re going to stress this over and over: Individual species may have different needs (to be refrigerated or kept moist or planted immediately or to not be stored at a cool temperature or to experience a period of after ripening). It’s always a good idea to know what your seeds need, write it on the container and then follow those directions.
Seed Swaps
Why do our seed swaps happen in late fall and early winter? It’s to fit them in between what comes before and what comes after! We are trying to give our members seeds that are relatively clean, ripe, well-identified and organized, and we want to give you as much time as possible for what comes next. Seed swaps tend to happen from November through February.
Fall Direct Sowing
One way for you to handle seeds that require cold stratification (see below for more explanation) is direct sowing in late fall or early winter. Prepare a good spot in your garden, cover as indicated in the germination guide, water in a little bit (helps seeds adhere to soil and lessens the chance of blowing away), and mark very well. Take notes! (See below). Just before an anticipated snowstorm is an excellent time to do this.
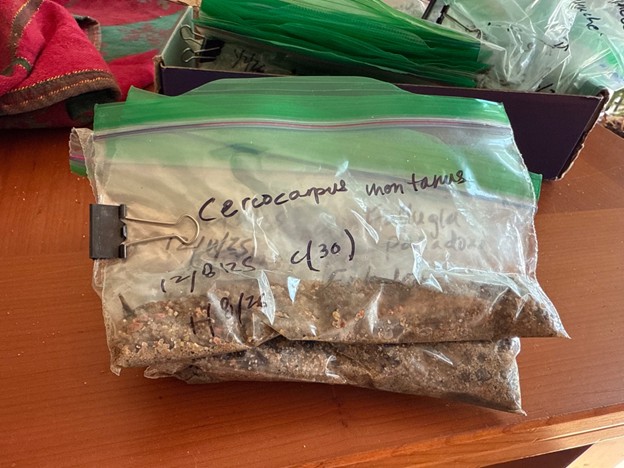
Winter Sowing
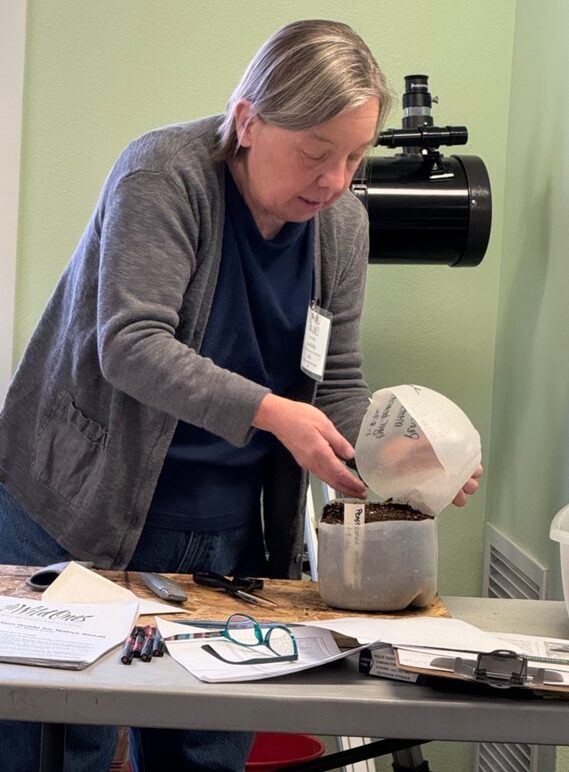
We’re all aware that many seeds from Colorado native plants need help to overcome dormancy, often through stratification. All stratification involves moisture and temperature changes. Scarification breaks down a thick, hard seed coat through physical or chemical treatment or repeated freezing and thawing. Jan Midgley says we need to allow time for cold stratification either outdoors or in the refrigerator. Some of our seeds need four months or more of cold moisture before they break dormancy, while others need less time. Thus, winter sowing workshops tend to take place in January and February. For seeds with long periods of cold stratification, you may be doing this in November or December. Again, it’s good to be organized and know what your seeds need and to keep track. Jan uses a notebook and her calendar. Others among us use spreadsheets. It’s also helpful to very clearly mark your sow bag, jug or tray with name, date and treatment. (See this resource for more on milk jug germination.)
Refrigerator Stratification
When you do refrigerator stratification depends on your needs and your seeds’ needs. If you can sow indoors (with lights or in a greenhouse), you may start this for long-stratification seeds as soon as November or December. You can continue sowing through January and February for seeds with shorter stratification times, but be aware that you are going to need to sow these seeds and allow them time to grow, be transplanted, and be planted outdoors.
Spring Direct Sowing
Like fall direct sowing, you can plant seeds directly into your garden in spring—but not all species! In her guide, Jan indicates which seeds don’t need cold stratification or scarification and often the required germination temperature, which will give you a feeling for how early or how late you can plant. Cover with soil as directed in the germination guide, water in, label and keep good records. At this point, you’ll want to make sure any seeds planted outside (fall or spring) are getting regular moisture, if Mother Nature is not providing it. This planting can happen early with a few species (March) all the way into late May or early June.
Indoor Sowing
For those who have lights or adequate greenhouse-quality growing space of at least eight hours of direct sun and no freezing nighttime temperatures), refrigerator stratification can lead to sowing plants in containers during the winter. Those of us who are doing this may start planting as early as January for plants with shorter stratification times. Nurseries are definitely sowing during the winter but be aware of their resources and demands which may differ from yours. It’s more common for home gardeners to do this in February and March as taking care of baby plants inside is a lot of work.
Bumping Up
Once seedlings germinate (yay!), they get crowded pretty quickly. The ideal time for bumping up (transplanting or pricking out) into individual small nursery pots is when the seedlings have two-ish sets of true leaves. Some species don’t like to have their roots handled and don’t survive transplantation well (such as legumes). So, for some, it may be better to go for earlier transplanting (one pair of true leaves). A variety of kitchen tools help with this. Jan likes clam knives. Kristine uses various bits of silverware. Stephen Hornbeck likes chopsticks. Some folks also use forceps. Transplanting starts as soon as the seedlings are mature and goes on “until it’s done.” Some of us have seedlings ready for transplanting in February (sown inside).
For your winter sown plants in bags or milk jugs, they will be ready (have those true leaves) when they are ready; it will depend on how they respond to the temperatures they’re experiencing at your home. This might happen as early as late March. But it’s much more likely that you will start transplanting in April through May and June, and possibly even later. It’s beneficial to just keep watering the bags or jugs. If nothing germinated in your containers, consider spreading the soil (and the seeds) in a designated place in your garden. They may germinate later in the season or even a later year.
Dig and Divide
Veteran native plant gardener Jean Morgan says that plants in your garden that you want to dig up and move, or give away, have an ideal time for this to happen. She says to do it between the first day of spring (roughly March 21st) and tax day (April 15th). I have heard the same thing from Jan Midgley and Peggy Rose—all three brilliant, experienced gardeners say this is an underutilized technique in our chapter and that it should happen early. Temperatures are warm enough and cool enough that baby plants generally won’t experience a hard freeze or a super hot day. Plants are small enough that you can get most of the root material, and above ground growth is small enough that it won’t demand too much of the roots. These plants still need to be watered and looked after the way you would any new plant in your garden.
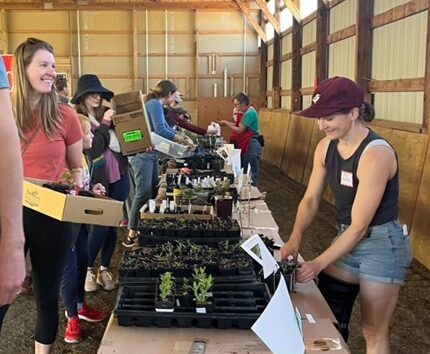
Plant Swaps
We’ve all been trying a range of dates for plant swaps but generally they’ve been in May and June. May provides somewhat cooler temperatures and more moisture for planting, and June provides enough time for those seedlings bumped up in spring to root out, mature and be hardened off if they have been inside or under partial shade. The past several Junes have been very hot and dry, which can be hard for both swap events and for planting survival. Many regions are planning to experiment with having multiple smaller swaps/giveaway events. These will cater to member engagement, making sure plants are mature enough to successfully establish, and move away from large events that require a lot of coordination, volunteers and resources. Stay tuned! This means plants could be available in some regions through the growing season, from May through September.
Planting, Plant Care, Garden Tours and Hikes
We encourage folks to plant propagated plants as soon as the plants are hardened off, have sufficient rooting and when we have conducive weather—generally late spring through early fall. (Hardening off is the process of getting your pampered seedlings ready for being in outside conditions full-time.) Specifically:
If you have dig-and-divide plants, put them in the ground immediately—they lived outside so they are already hardened off. They will survive late snow and early hail.
If you have a seedling plant in a pot, check it roots. Cradle the plant in your hand and gently remove the pot. Can you see lots of roots in the little cube of soil? It’s ready. Are the roots circling the bottom of the container? It’s past ready. Only soil and a few roots? Let it keep growing.
For plants grown indoors where the temperatures and light are not as variable, or as impactful, as being outside, allow a week or two to let them gradually spend more time each day in outdoor conditions. If you are giving them away, be sure to let the recipients know if they need to be hardened off or covered when they are planted.
Summer is also the time to control undesired plants (weeding), provide supplemental water, if necessary, and to seek inspiration from neighboring yards and wild spaces. Keep an eye on flowers setting seeds, which takes us back to the beginning of the calendar!